
Installing Bona U300

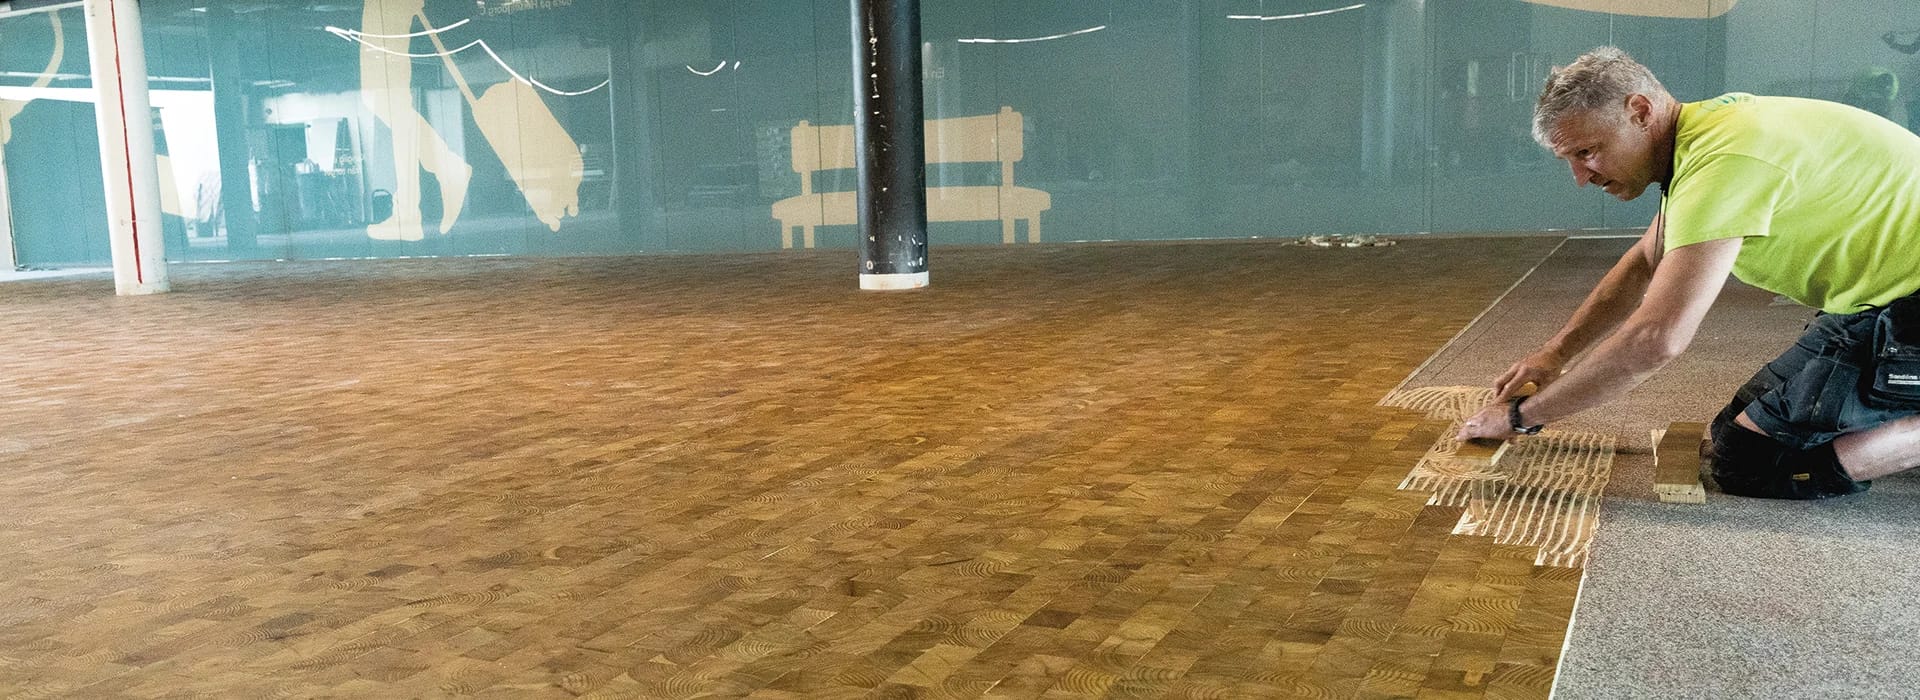
Installing Bona U300
Different constructions

Wooden floors on joists
Wooden floors can also become installed on joists which are either mounted on concrete or as a full wooden structure. Even though the air layer in between the joists will offer a slight sound insulation, the use of Bona U300 will positively improve sound reduction.
1. Wood flooring (glued down and/ or fixed with screw or nailed)
2. Plywood/OSB/Chipboard
3. Joist
Screed on separating layer
A screed installed on concrete, by using a separating layer, will also require measures to improve the impact sound. The separating layer will influence the transmission of impact sound, but it serves mainly as a moisture protection or thermal insulation.
1. Wood flooring (fully bonded)
2. Screed
3. Insulating layers (moisture barrier, thermal insulation)
4. Concrete slab


Bonded screed
A screed directly installed on the concrete is called a bonded screed. No insulation layer is present here to interrupt or decrease the transferring of the impact sound. In these a cases the use of Bona U300 is suitable to decrease the impact sound.
1. Wood flooring (fully bonded)
2. Screed
3. Concrete slab
How to install
There are different methods of installing a new floor and depending on method used there is a need for underlayment. Bona U300 is easy to install and makes the installation of an underlay mat a swift process. Depending on the substrate construction the use of Bona U300 can improve the situation when additional impact sound insulation is demanded or required.
LAYERS OF SOUND REDUCTION
1. WOOD FLOOR
2. ADHESIVE LAYER 2
3. SOUND DAMPENING
4. ADHESIVE LAYER 1

INSTALLATION – WITH FIXING TO SUBSTRATE
Bona U300 can be installed with or without fixing it to the substrate. In both cases the substrate must be in generally physically sound and met the local requirements or technical standards. Among others the substrate must be even, clean, dry and free from adhesion disturbing substances (e.g. grease, old paints).

1. Cut Bona U300
Cut Bona U300 to the length of the room (measured 45-90° to the final installation direction of the parquet) and roll it out.

2. Lift a section approx.
Lift a section approx. half its length and apply the adhesive on the exposed subfloor. Apply the Bona adhesive of your choice with an adequate trowel. Size of the trowel depends on the substrates condition. 3.

3. Re-lay Bona U300
Re-lay Bona U300 within the open time of the adhesive and press it down firmly. Proceed with the other side in the same way until Bona U300 is completely adhered to the subfloor.

4. Apply adhesive
Apply adhesive with a trowel on Bona U300. Use the same adhesive that was used before. Type of trowel depends on the parquet to be installed.
