
Restoring
When a wood floor is severely damaged or yellowed, or your customer simply wants to change the look of their floor, a restoration treatment is the perfect solution.

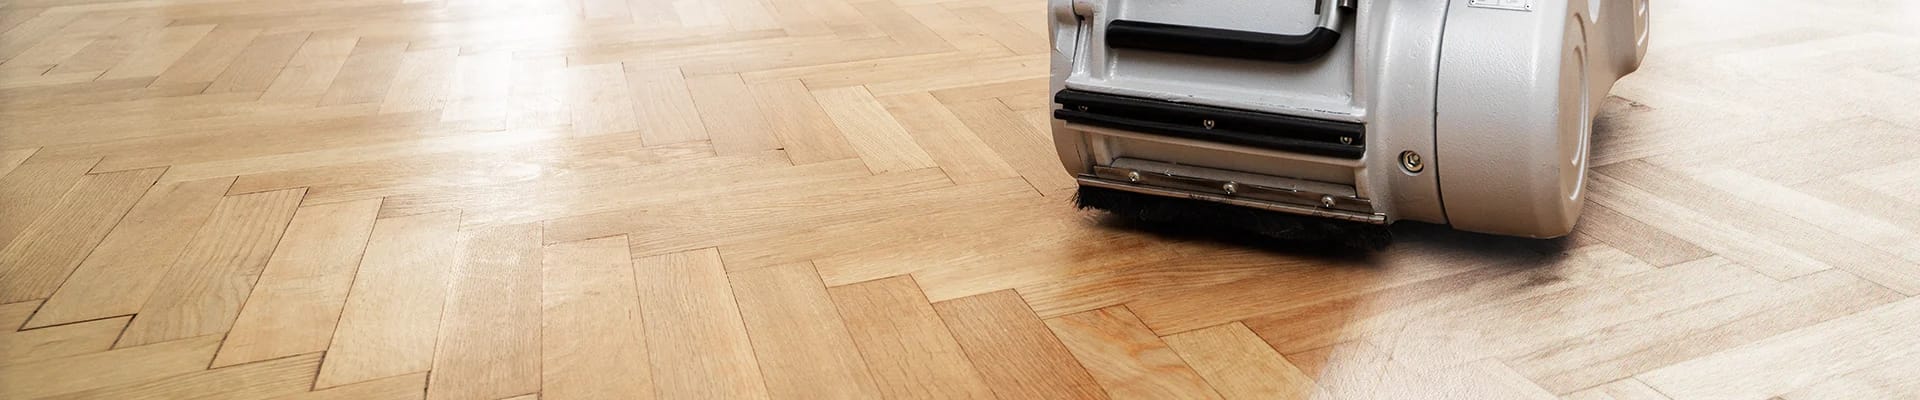
Restoring
When a wood floor is severely damaged or yellowed, or your customer simply wants to change the look of their floor, a restoration treatment is the perfect solution.
Using our comprehensive sanding equipment, abrasives and dust containment systems, the floor is sanded down to the bare wood and then finished with the look and protection it needs and deserves. It's like getting a whole new floor with endless possibilities. And it's ready for traffic once again within 2-4 days.
Lacquered floors

Step 1 - Coarse sanding
Begin the sanding process with abrasives Bona 8700 Ceramic (grit 50) on a Bona FlexiSand with PowerDrive, Bona Belt UX or another Bona machine. Move slowly, and follow the grain of the wood. If the floor is very uneven, we recommend sanding diagonally. Repeat the process until the floor is flat, and all residue from previous coatings has been removed. Sand the corners and edges with a Bona Edger and the same abrasives.

Step 2 - Medium sanding
Continue the sanding process with abrasives Bona 8300 Zircon Mix (grit 60) on a Bona FlexiSand with PowerDrive, Bona Belt HD, or another Bona machine. Move slowly, and follow the grain of the wood, returning in the same path that you have just sanded. Sand corners and edges with a Bona Edger and the same abrasives. Then do it all over again, but with the Bona 8300 Zircon Mix abrasives (grit 100).

Step 3 - Fine sanding
Finalise the sanding process by abrading the floor with the Bona FlexiSand and Bona Diamond Abrasives (grit 120). Sand corners and edges with a Bona Edger and the same abrasives. Carefully vacuum-clean or dust-mop the floor.

Step 4 - Primer application
For this step, use the desired Bona primer. Shake the pail thoroughly. Using a brush, start by applying primer to the corners and edges of the floor. Smooth it out with a Bona Mircrofibre Roller. Next, use the roller to apply the primer to the rest of the floor. Distribute it across the grain, and smooth it out with the grain. Overlap each section with about 20 cm. When your whole floor has been treated, allow the primer to dry (for 1-3 hours).

Step 5 - Intermediate sanding
During treatment, some of the wood's fibres will rise. So at this stage, it's essential to sand the floor lightly once more before moving on to the lacquer application. Use the Bona FlexiSand, and Bona Diamond Abrasives (grit 120). Then carefully vacuum-clean or dust-mop.

Step 6 - Finish application
Apply the desired Bona lacquer in the same way as primer was applied. Let it dry. Then apply a second coat. Drying time will vary depending on the lacquer used, so check the drying time for your specific lacquer.
Oiled floors
Turn a worn-out floor into a beautifully unique surface with the Bona Oil System.

Step 1 - Coarse sanding
Begin the sanding process with abrasives Bona 8700 Ceramic (grit 50) on a Bona FlexiSand with PowerDrive, Bona Belt UX or another Bona machine. Move slowly, and follow the grain of the wood. If the floor is very uneven, we recommend sanding diagonally. Repeat the process until the floor is flat, and all residue from previous coatings has been removed. Sand the corners and edges with a Bona Edger and the same abrasives.

Step 2 - Medium sanding
Continue the sanding process with abrasives Bona 8300 Zircon Mix (grit 60) on a Bona FlexiSand with PowerDrive, Bona Belt HD, or another Bona machine. Move slowly, and follow the grain of the wood, returning in the same path that you have just sanded. Sand corners and edges with a Bona Edger and the same abrasives. Then do it all over again, but with the Bona 8300 Zircon Mix abrasives (grit 100). If you intend to treat the floor with a pigmented oil, repeat the process one last time with abrasives Bona 8300 Zircon Mix (grit 120).

Step 3 - Fine sanding
Finalise the sanding process by abrading the floor with the Bona FlexiSand and Bona Diamond Abrasives (grit 120). Sand corners and edges with a Bona Edger and the same abrasives. Carefully vacuum-clean or dust-mop the floor.

Step 4 - Oil application
Bona oils can be applied to a floor in a number of ways: with a stainless-steel trowel, a buffing machine, a rubber bladed spatula, or an oil application sleeve. The best resulta are achieved by applying two thin coats, letting the oil dry overnight between coats. Start by stirring the oil thoroughly. Apply it to the corners and edges first. Then distribute the oil to the rest of the floor, with whichever tool you choose. Wait 15-20 minutes, then remove the excess oil with cotton cloths. Repeat the procedure for second coat the following. Be sure to check the product for a more specific drying time.
Hard-wax oiled floors
Enjoy a long-lasting, beautiful hard-wax oiled floor.

Step 1 - Coarse sanding
Begin the sanding process with abrasives Bona 8700 Ceramic (grit 50) on a Bona FlexiSand with PowerDrive, Bona Belt UX or another Bona machine. Move slowly, and follow the grain of the wood. If the floor is very uneven, we recommend sanding diagonally. Repeat the process until the floor is flat, and all residue from previous coatings has been removed. Sand the corners and edges with a Bona Edger and the same abrasives.

Step 2 - Medium sanding
Continue the sanding process with abrasives Bona 8300 Zircon Mix (grit 60) on a Bona FlexiSand with PowerDrive, Bona Belt HD, or another Bona machine. Move slowly, and follow the grain of the wood, returning in the same path that you have just sanded. Sand corners and edges with a Bona Edger and the same abrasives. Then do it all over again, but with the Bona 8300 Zircon Mix abrasives (grit 100).

Step 3 - Fine sanding
Finalise the sanding process by abrading the floor with the Bona FlexiSand and Bona Diamond Abrasives (grit 120). Sand corners and edges with a Bona Edger and the same abrasives. Carefully vacuum-clean or dust-mop the floor.

Step 4 - Hard-wax oil application
Stir the Bona Hard Wax Oil thoroughly. Start off by applying it to the corners and edges of the application area. Smooth it out using a roller, before distributing the hard-wax oil to the rest of the application area. Apply pressure on the Bona Microfibre Roller to ensure a good thin application. Overlap each section with about 20 cm. Allow the surface to dry.

Step 5 - Intermediate sanding
During treatment, some of the wood's fibres will rise. So at this stage, it's essential to sand the floor lightly once more before moving on to the lacquer application. Use the Bona FlexiSand, and Bona Diamond Abrasives (grit 120). Then carefully vacuum-clean or dust-mop.

Step 6 - Final hard-wax oil application
Repeat step 4: Stir the Bona Hard Wax Oil thoroughly. Start off by applying it to the corners and edges of the application area. Smooth it out using a roller, before distributing the hard-wax oil to the rest of the application area. Apply pressure on the Bona Microfibre Roller to ensure a good thin application. Overlap each section with about 20 cm. Allow the surface to dry for at least 18 hours before allowing traffic to resume on the floor.